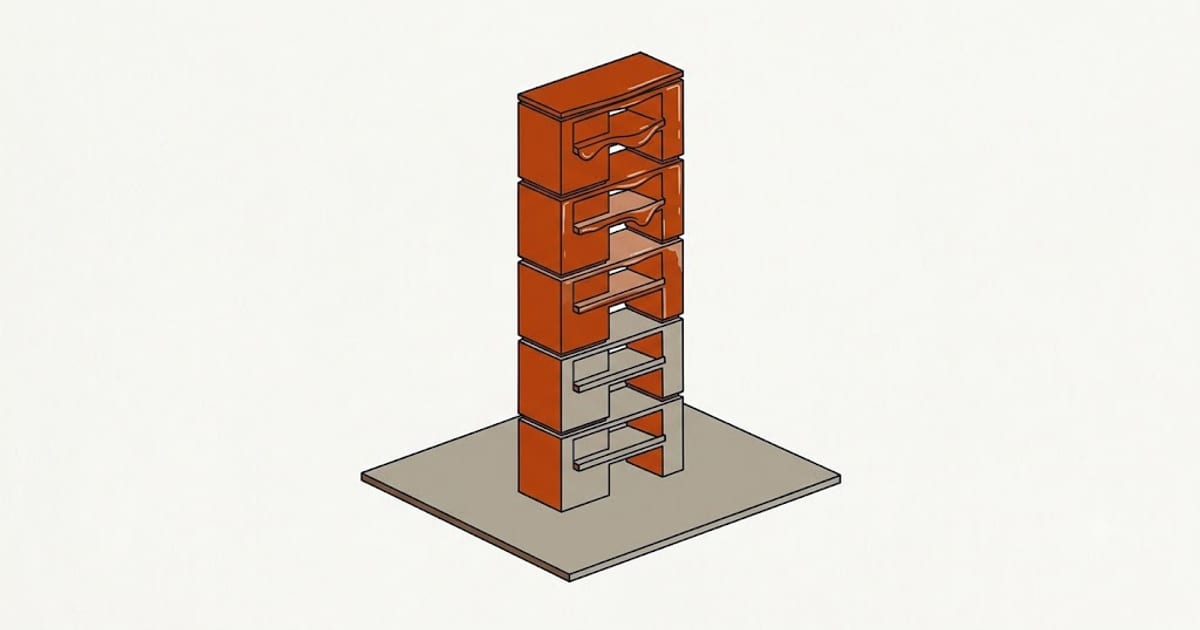
Every temperature recommendation you can read, including ours, is a range published by someone who has never seen your printer. A temperature tower turns that range into a single number, measured on your machine, in your room, with your spool.
It takes about 45 minutes and roughly 8 g of filament.
What it is
One tall model divided into blocks of equal height. The nozzle temperature changes at each block boundary, stepping down 5 °C at a time across your filament's published range. When it finishes you are holding a physical sample of the same filament printed at every temperature in that range, with every other variable held constant.
Each block carries features that fail in temperature-sensitive ways: an overhanging ledge, a bridged gap, a thin protrusion, and a flat face for judging surface finish.
Setting it up
Pick your range from the spool, not from a forum. Start at the top of the published range and step down. For Polymaker PolyLite PLA or Bambu PLA Basic that is 230 °C down to 190 °C in 5 °C steps — nine blocks. For eSUN PLA+ it is 230 down to 210 — five blocks. For Prusament PLA, 220 down to 200.
Two ways to make the temperature change happen:
- Height range modifier — most slicers let you set a different temperature for a range of Z heights. Easiest and least error-prone.
- Custom G-code at layer change — insert
M104 S{temperature}at specific layer numbers. More control, more ways to get it wrong.
Either way, print it as a single object with no other parts on the plate, and turn off anything that varies by itself — adaptive layer height, variable speed, ironing on some layers only.
The two mistakes that invalidate the result
Mistake one: assuming the temperature changes instantly at the boundary.
M104 is non-blocking. It sets a target and returns immediately; the printer keeps printing while the heater works toward the new value. A 5 °C change takes a few seconds to reach and a little longer to stabilise, during which the nozzle is somewhere between the two settings.
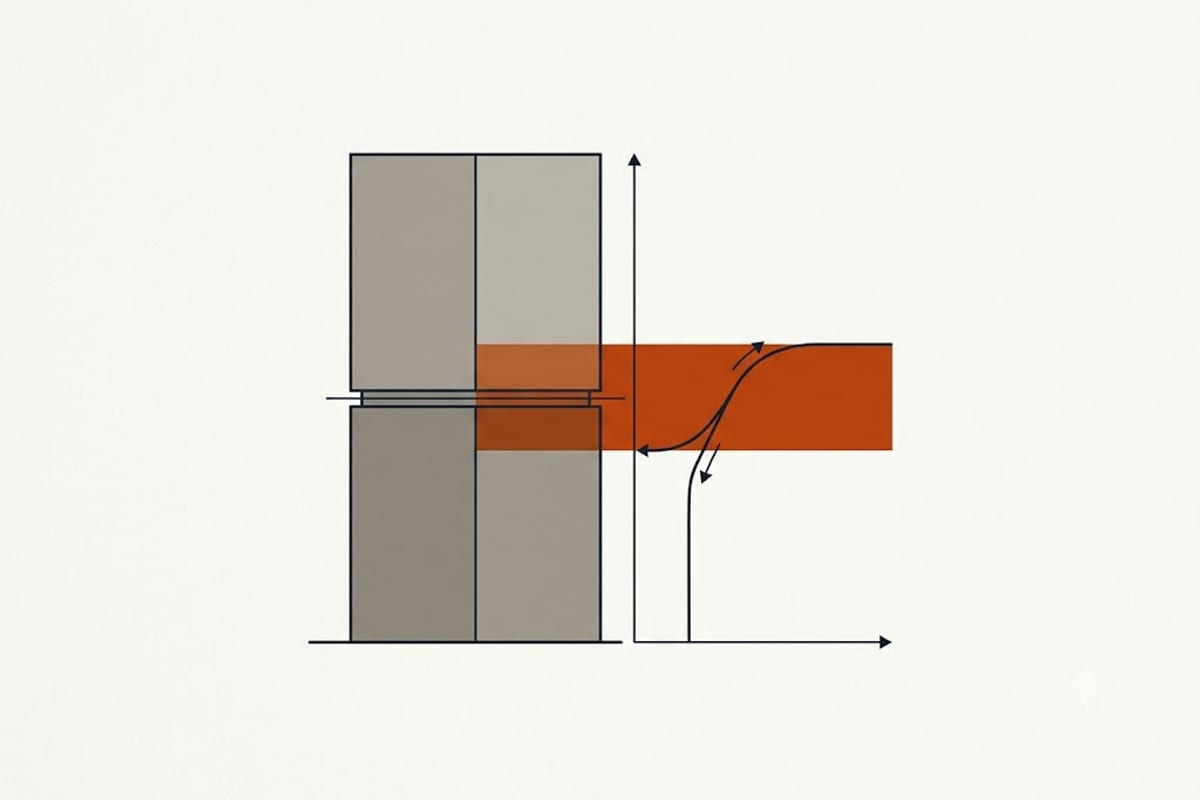
The practical consequence: judge the middle of each block, never the boundary. A tower with 10 mm blocks has perhaps 2 mm of transition at each junction. Reading the transition zone is how people conclude that 205 °C and 210 °C are indistinguishable.
If you want the boundary to be sharp, use M109 instead — it waits for the temperature to be reached before continuing. It also pauses the print at each boundary, which leaves a visible seam and a small blob. Both approaches are fine; the mistake is using M104 and reading it as though it were M109.
Mistake two: judging only the surface finish.
Surface finish is the most visible property and the least important one. A block can look perfect and have almost no layer adhesion.
How to read it
Work down the list in this order, and treat the first three as the decision:
- Layer adhesion. Snap each block off the tower and try to split it along a layer line with your fingers. The lowest temperature at which a block resists cleanly is the floor of your usable range. This is the single most important reading and the one that requires destroying the tower — do it last, after the visual checks.
- Bridging. Look under the bridged gap on each block. Too cold and the bridge strands break or curl; too hot and they sag.
- Overhangs. The ledge should keep a defined lower edge. Drooping means too hot.
- Stringing. Wisps around the tower increase with temperature. If every block strings equally, your filament is wet and this whole tower is measuring the wrong thing — see fixing PLA stringing.
- Surface finish. Matte and slightly rough at the cold end, glossy at the hot end. Use it to break ties, not to decide.
Choose the lowest temperature that passes tests 1–3. Cooler is better for overhangs, bridging, stringing and dimensional accuracy; the only thing it costs you is layer strength, which is exactly what test 1 measures. So the right answer is the coldest block that is still strong.
When to print another one
- New spool of a different brand or a different colour. Pigment alone can move the optimum 5–10 °C within one brand.
- After changing hot ends or thermistors. The tower measures your machine as much as your filament.
- After a large change in print speed. Faster filament spends less time in the melt zone and leaves the nozzle cooler at the same setting — see the melt-zone explanation in PLA print temperature.
Not needed for: a new spool of the same product in the same colour, a change of bed surface, or a change of layer height.
FAQ
How long does a PLA temperature tower take?
Around 45 minutes and about 8 g of filament for a nine-block tower covering 190–230 °C in 5 °C steps.
What temperature range should the tower cover?
Your filament's own published range. That is 190–230 °C for Polymaker PolyLite PLA and Bambu PLA Basic, 210–230 °C for eSUN PLA+, and 200–220 °C for Prusament PLA. Testing outside the published range wastes blocks.
Should I use M104 or M109 for the temperature change?
Either works. M104 keeps printing while the heater adjusts, so there is a transition zone at each boundary — judge the middle of each block. M109 waits for the target and gives sharp boundaries at the cost of a visible seam and a small blob.
How do I know which block is best?
Choose the lowest temperature whose block still resists being split along a layer line by hand. Cooler settings are better for overhangs, bridging and stringing; layer strength is the only thing you lose, so pick the coldest block that keeps it.
Do I need a new tower for every spool?
Only when the brand or the colour changes, or when you change hot end hardware or print speed substantially. A repeat spool of the same product in the same colour will behave the same.