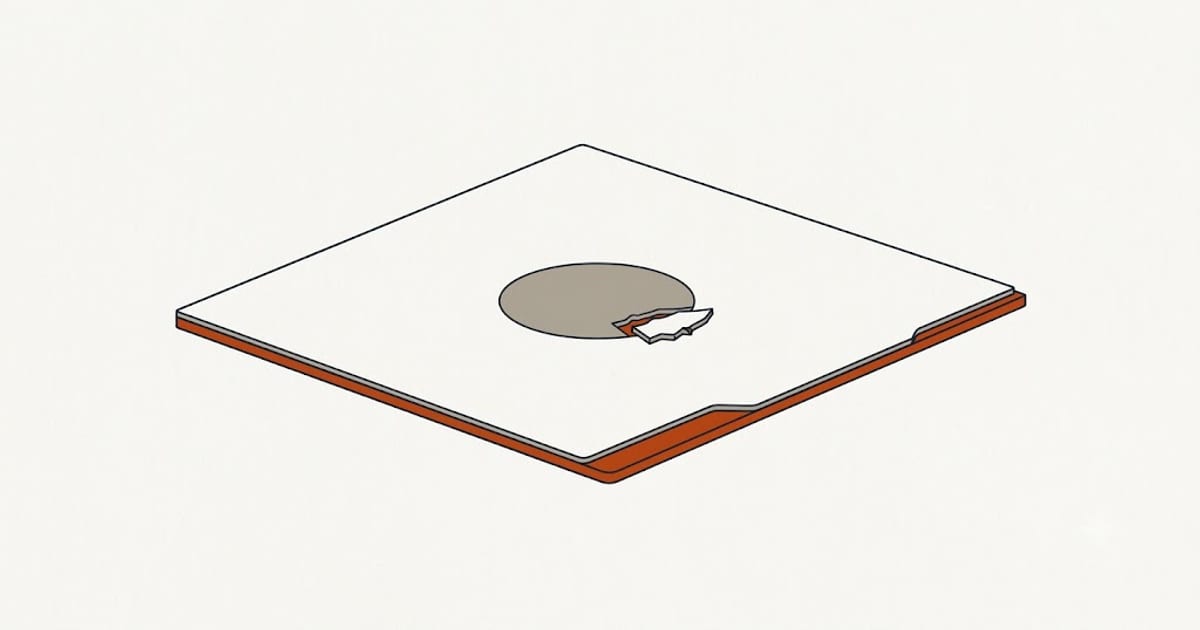
PETG does not merely adhere to smooth PEI. It bonds to it — a chemical bond, not mechanical grip.
The result is people prying off a part and lifting a chip of the build surface with it. The print looks fine; the plate is ruined.
The fixes all work the same way: put something between the plastic and the plate, or stop pressing them together so hard.
Use a release agent
Glue stick is the standard answer, and it is counter-intuitive. A thin layer of ordinary PVA glue stick is not there to help adhesion — it is a release layer. The PETG bonds to the glue, and the glue washes off with water.
Apply thinly and evenly. Reapply every few prints.
Hairspray works the same way. So does painter's tape, at the cost of surface finish.
Or use a textured plate
Textured PEI, powder-coated sheets and glass with a coating all reduce the contact area and change the bond from chemical to mechanical.
Textured plates are the common recommendation for PETG for exactly this reason, and the pattern they leave on the first layer is usually considered a feature.
Raise the Z-offset
This is the one imported from PLA that causes damage.
For PLA, the advice is to squish the first layer for adhesion. For PETG, that squish presses molten plastic into every microscopic feature of the plate and maximises the bond area.
Set the PETG first layer slightly higher than your PLA offset. The first layer should be placed rather than mashed — lines that touch and merge, not lines flattened into a sheet.
Adhesion will still be more than sufficient. That is the whole problem.
Let it cool completely
Do not remove the part while the bed is warm. This does more than any other single step.
Plastic and build plate contract at different rates as they cool, and that difference breaks the bond mechanically. On a properly cooled plate, PETG parts frequently release with an audible click and no force at all.
Warm PETG is at its stickiest and the plastic is softest — the worst possible combination for prying. If a part will not release, put the plate somewhere cold for ten minutes rather than reaching for a scraper.
If it is already stuck
- Cool it further. A cold garage, or the plate in a refrigerator if it is a removable sheet. Often enough on its own.
- Flex a removable plate. Twisting a spring-steel sheet breaks the bond across the whole footprint at once instead of at one corner.
- Water. For glue-stick releases, running water dissolves the layer and the part lifts.
- Do not use a metal blade at an angle. That is what takes chips out of the plate.
Prevention is a profile setting
Save a PETG profile with the higher Z-offset, and keep a glue stick with the printer. Both take seconds and both prevent a plate replacement.
Full settings in PETG print settings.
FAQ
Why does PETG stick to the bed so strongly?
It forms a chemical bond with smooth PEI rather than a mechanical grip, so contact area translates directly into bond strength.
Should I use glue stick with PETG?
Yes, as a release agent rather than an adhesive. The PETG bonds to the glue instead of the plate, and the glue washes off.
What Z-offset for PETG?
Slightly higher than PLA. Squishing the first layer maximises the bond area, which is the opposite of what you want here.
How do I remove a stuck PETG print?
Let the plate cool completely first — differential contraction usually releases it. Flex a removable sheet rather than prying at a corner.
Does a textured plate help with PETG?
Yes. Less contact area and a mechanical grip rather than a chemical bond, which is why textured sheets are the usual PETG recommendation.